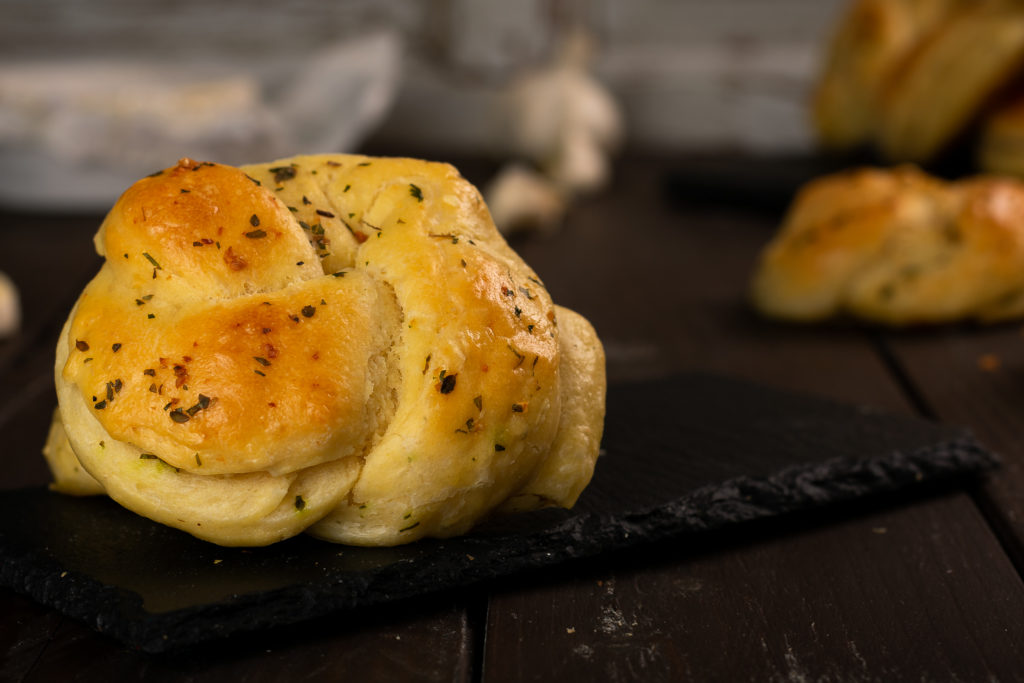
From the shadows of the Italian kitchen into the spotlight of our heart. Garlic knots aren’t just a piece of leftover dough anymore. Tasty, garlicky, Yummy!
As I recently have a little time, I was browsing on the internet yesterday. Trying to find new, fascinating tips, inspirational dishes that I have never tasted before, to surprise my family with. Hunting for a long time yet couldn’t discover lots of interesting things. Right before I thought to give up on it, I discovered this yummy and simple dessert simply by chance on Suncakemom. It seemed so tempting
on its photo, that required urgent action.
It had been not difficult to imagine the way it is made, its taste and just how much my husband is going to love it. Actually, it is very easy to impress the guy in terms of treats. Anyways, I visited the site and used the simple instuctions that were coupled with great graphics of the procedure. It just makes life much simpler. I could imagine that it’s a bit of a effort to shoot photos in the middle of baking in the kitchen as you most often have sticky hands thus i genuinely appreciate the time and effort she put in to build this post .
Having said that I am empowered to present my very own recipe in a similar fashion. Thanks for the idea.
I had been fine tuning the initial recipe to make it for the taste of my family. I must mention it turned out an incredible outcome. They loved the taste, the consistency and enjoyed getting a treat such as this in the midst of a stressful week. They ultimately asked for even more, many more. Hence next time I am not going to commit the same mistake. I’m gonna multiply the volume to get them pleased.
The origanal Garlick Knots is from SunCakeMom
Dough:
Dissolve fresh yeast in a half cup of lukewarm (not hot!) milk. Set it aside whilst preparing the other ingredients.
Get a big bowl and put flour, sliced room temperature butter, egg and the lukewarm water in it.
Pour the dissolved yeast into the big bowl on top of the other ingredients.
Knead the mixture well until it’s even and there’s no flour left on the edge of the bowl.
Cover the bowl and leave it in a warm place for about an hour to rise.
Filling:
Crush or dice up the garlic.
Mix the garlic with the room temperature butter and the rest of the filling ingredients in a small bowl.
Cover:
Prepare an egg wash by beating up an egg with a crushed garlic, basil, oregano and salt.
Assembly:
After an hour waiting take dough out of the bowl onto a well-floured work surface.
Roll it into a square. Flouring underneath the dough is important as this coating will prevent it to stick down.
Spread the butter with the herbs onto half of the dough.
Fold it in half so the butter creates a layer between the dough.
Then fold it again horizontally.
Leave it in a warm place under a kitchen towel for another 20 minutes.
Preheat oven to 350°F / 180°C.
After about 20 minutes when the dough have risen somewhat depending on the temperature.
Put it on a well-floured work surface to roll it in an approximately 10″ x 10″ / 30cm x 30cm square.
Cut about 1″ / 2cm wide stripes. Before cutting up the whole dough experiment with sizes. Find the length and with that is comfortable to make knots with.
Make knots out of the stripe and place roll into the the baking tray.
Give an egg wash to each roll before putting tray into the preheated oven.
If making knots gets boring just twist the stripes and make garlic twists.
Bake it for 20-25 minutes or until top is golden brown.
Eat them warm or cold with some melted cheese for more pleasure.