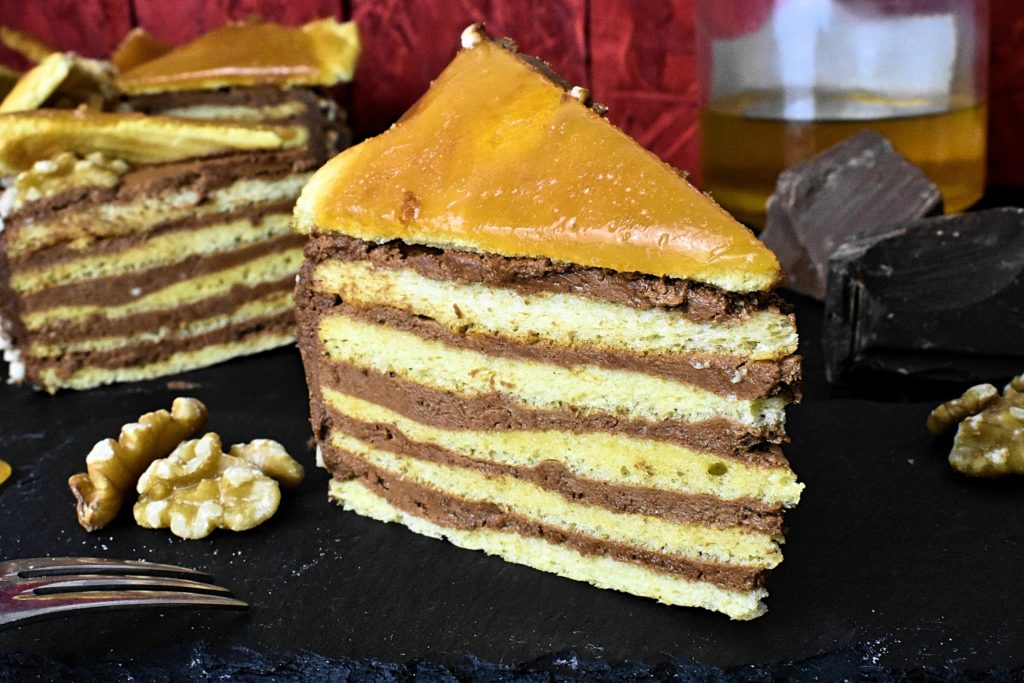
Looking for one of the most exquisite treat that eggs and flour can make? Divine tasting buttery chocolate layers with caramelized sugar top.
As I most recently have a little time, I was surfing on the internet a few days ago. Trying to get fresh, exciting ideas, inspiring dishes that We have never used before, to treat my loved ones with. Searching for quite some time yet could not find any interesting stuff. Right before I thought to give up on it, I came across this fabulous and easy treat by accident on Suncakemom. It looked so scrumptious on its photos, that required instant actions.
It had been not so difficult to imagine the way it is created, its taste and how much my hubby is going to want it. Mind you, it is quite easy to delight him in terms of cakes. Yes, I am a lucky one. Or possibly he is.Anyway, I visited the webpage and followed the comprehensive instuctions which were accompanied by superb images of the procedure. It really makes life quite easy. I can imagine that it is a slight inconvenience to take photos down the middle of baking in the kitchen because you will often have gross hands so I pretty appreciate the time and energy she placed in to make this blogpost and recipe conveniently implemented.
That being said I’m encouraged presenting my own formulas in the same way. Appreciate your the concept.
I had been fine tuning the main formula create it for the taste of my family. I have to tell you it had been a terrific outcome. They loved the taste, the overall look and enjoyed getting a sweet like this during a hectic week. They basically demanded lots more, a lot more. Thus next time I am not going to commit the same mistake. I’m likely to double the quantity .
You can find the original Dobos Torte at SunCakeMom
Pastry
Separate eggs and put them into two medium size mixing bowls then Put half of the sugar with the egg whites and the other half with the yolks.
Beat the egg whites until stiff peaks are formed.
Separately mix yolks with sugar and beat it until we get a light yellow color.
Sift the flour and optional baking powder on top of the egg yolk and mix it in.
Slowly mix in the egg whites adding just a couple of spoonful at a time.
Cut 8.6″ / 22cm diamter circles out of baking paper to fit at the bottom of the tray then divide the batter into 6 and create as even Ø7.5″ / Ø19cm layers as possible. Put layers into the preheat 356°F / 180°C oven and bake them for 10-15 minutes.
Take them out as soon as we see the edges are light brown. Don’t overbake them as too hard pastry would break. Save the best layer and put it aside for the top caramel layer. We may put a plate on top of it to stop it from deforming.
Filling
Melt chocolate.
Dice butter and beat it for at least 10 minutes until we’ll get creamy and light consistency of it. Fluffier is better.
In the meantime put eggs and sugar into a double boiler
Beat the eggs in medium heat until it is warm and soft peaks form.
Take it off the heat and keep beating until it cools down.
Mix melted chocolate with the fluffy butter
Fold in the beaten eggs carefully then put the cream in the fridge until it’s ready to be use.
Topping
This is the trickiest part of the whole cake. We need to prepare all the things needed beforehand in reaching distance as we have to work as fast as possible. Prepare and check everything we will need: A sharp knife, butter and the top layer of the cake.
Pour sugar and water into a saucepan and without stirring, cook until sugar dissolves then comes to a boil and the color starts darkening. It is important not to stir it otherwise it is going to crystallize. Instead of stirring swirl the pan and continue to boil until caramel becomes a golden brown.
As soon as golden brown, act fast,
Pour caramel over the best looking cake layer.
Mark the caramel as fast as possible with a buttered knife or even better a spreading tool. Keep buttering the knife between the cuts. The easiest is to cut the glaze into 16 wedges. As we don’t have to estimate where to cut. Half, quarter, eighth, sixteenth…
We have to finish before the glaze hardens. Be really careful with the hot caramel. Don’t touch or try to taste it. It would burn the skin badly. When the caramel is hot we can mark it first by pressing the knife onto it gently. Later when it’s hardened we can cut it properly. It is a delicate job as the glaze could break easily.
Assembly
Place the first layer on the cake serving plate as this will make it easier to move it later. Divide cream into 6 evenly then spread filling on the first four layers and stack them.
Put the fifth layer on top. Now we only have 2 portions of the chocolate cream then spread half of it on top of the layer then cut the cake into a proper circle shape if necessary.
Cover the outside of the cake with the other half.
Throw the shredded nuts outside the cake as decoration. It will stick into the cream as it is still soft.
Place 16 half walnuts on top of the cake around the edge. This is where the caramel glaze slices are going to lean on. Cut the glaze properly and place it on top of the cake. Put a walnut in the middle as a final step. Keep it in a cool place but take it to room temperature half an hour before serving.